getting started with textile art
a beginner’s toolkit
Textile art has a way of pulling you in. If you’ve ever paused in front of a macramé wall hanging or a handwoven tapestry, you know what I mean. It’s not just something you look at, it’s something you feel. There’s warmth, texture, and a kind of quiet energy in these works that makes them so inviting.
For me, this was exactly what drew me into textile art in the first place. Knot by knot, thread by thread, I discovered that the slow, repetitive rhythm wasn’t just making beautiful objects. It was also bringing me calm, focus, and a much-needed break from the noise of daily life. It’s mindful, it’s meditative, and it’s deeply human.
If you’re curious to begin your own journey, I want to make it simple. Let’s start with the basics. The tools, materials, and a few beginner-friendly projects that will ease you in and spark your creativity.
1. your first tools & materials
The beauty of textile art is that you don’t need a huge studio or expensive equipment to begin. A handful of tools, some yarn or cord, and a bit of patience will take you further than you think.
macramé basics
Cotton cord or string: Start with 4–5mm single-strand cotton. It’s soft, easy to knot, and forgiving. Twisted or braided cords give a more structured look. Try a few and see which feels right in your hands.
Wooden dowels, rings, or branches: Perfect for wall hangings and plant hangers. If you’re drawn to driftwood or natural branches, just give them a good clean before using.
Cork base or clothes rack if you’re going big: You’ll need a base to work. If you’re choosing a small project like a keyring or a coaster, a cork base and some metal pins will be enough. If you’re venturing into a bigger scale project, then I would advise you to get a small clothes rack that will allow you to work with longer cords without getting all tangled in them!
Sharp scissors: This is non-negotiable. A good pair (I swear by my Fiskars) makes everything easier! And trust me, if you try cutting thick cotton with dull kitchen scissors, you’ll regret it.
Measuring tape: Helps avoid waste and panic when you run short on cord mid-project. My rule: cut more than you think you’ll need. Scraps can always be reborn in future pieces.
Comb or brush (optional): For soft fringes. A pet brush works surprisingly well, but be prepared for a cloud of cotton dust (I sometimes wear a mask!).
weaving essentials
A simple loom: A small wooden frame loom is the best place to start. You can make one from cardboard but if you think you’ll stick with weaving, a sturdy handcrafted loom makes all the difference. The tension stays even, the process flows easier, and the finished piece feels that much more special. (Prash, my partner, makes the weaving frames I use every day! They’re built from sustainably sourced wood and designed to last, which I love.)
Warp thread: Thin and strong. I use 1mm cotton for most of my pieces.
Weft yarn: This is where you can play. Mix fibres, textures, and colours for depth and character.
Tapestry needle, comb, shed stick (all optional): My hands are honestly my best tools, but if you want to use tools, these will help.
2. first projects to try
The key is to start small. Think of these as little warm-ups:
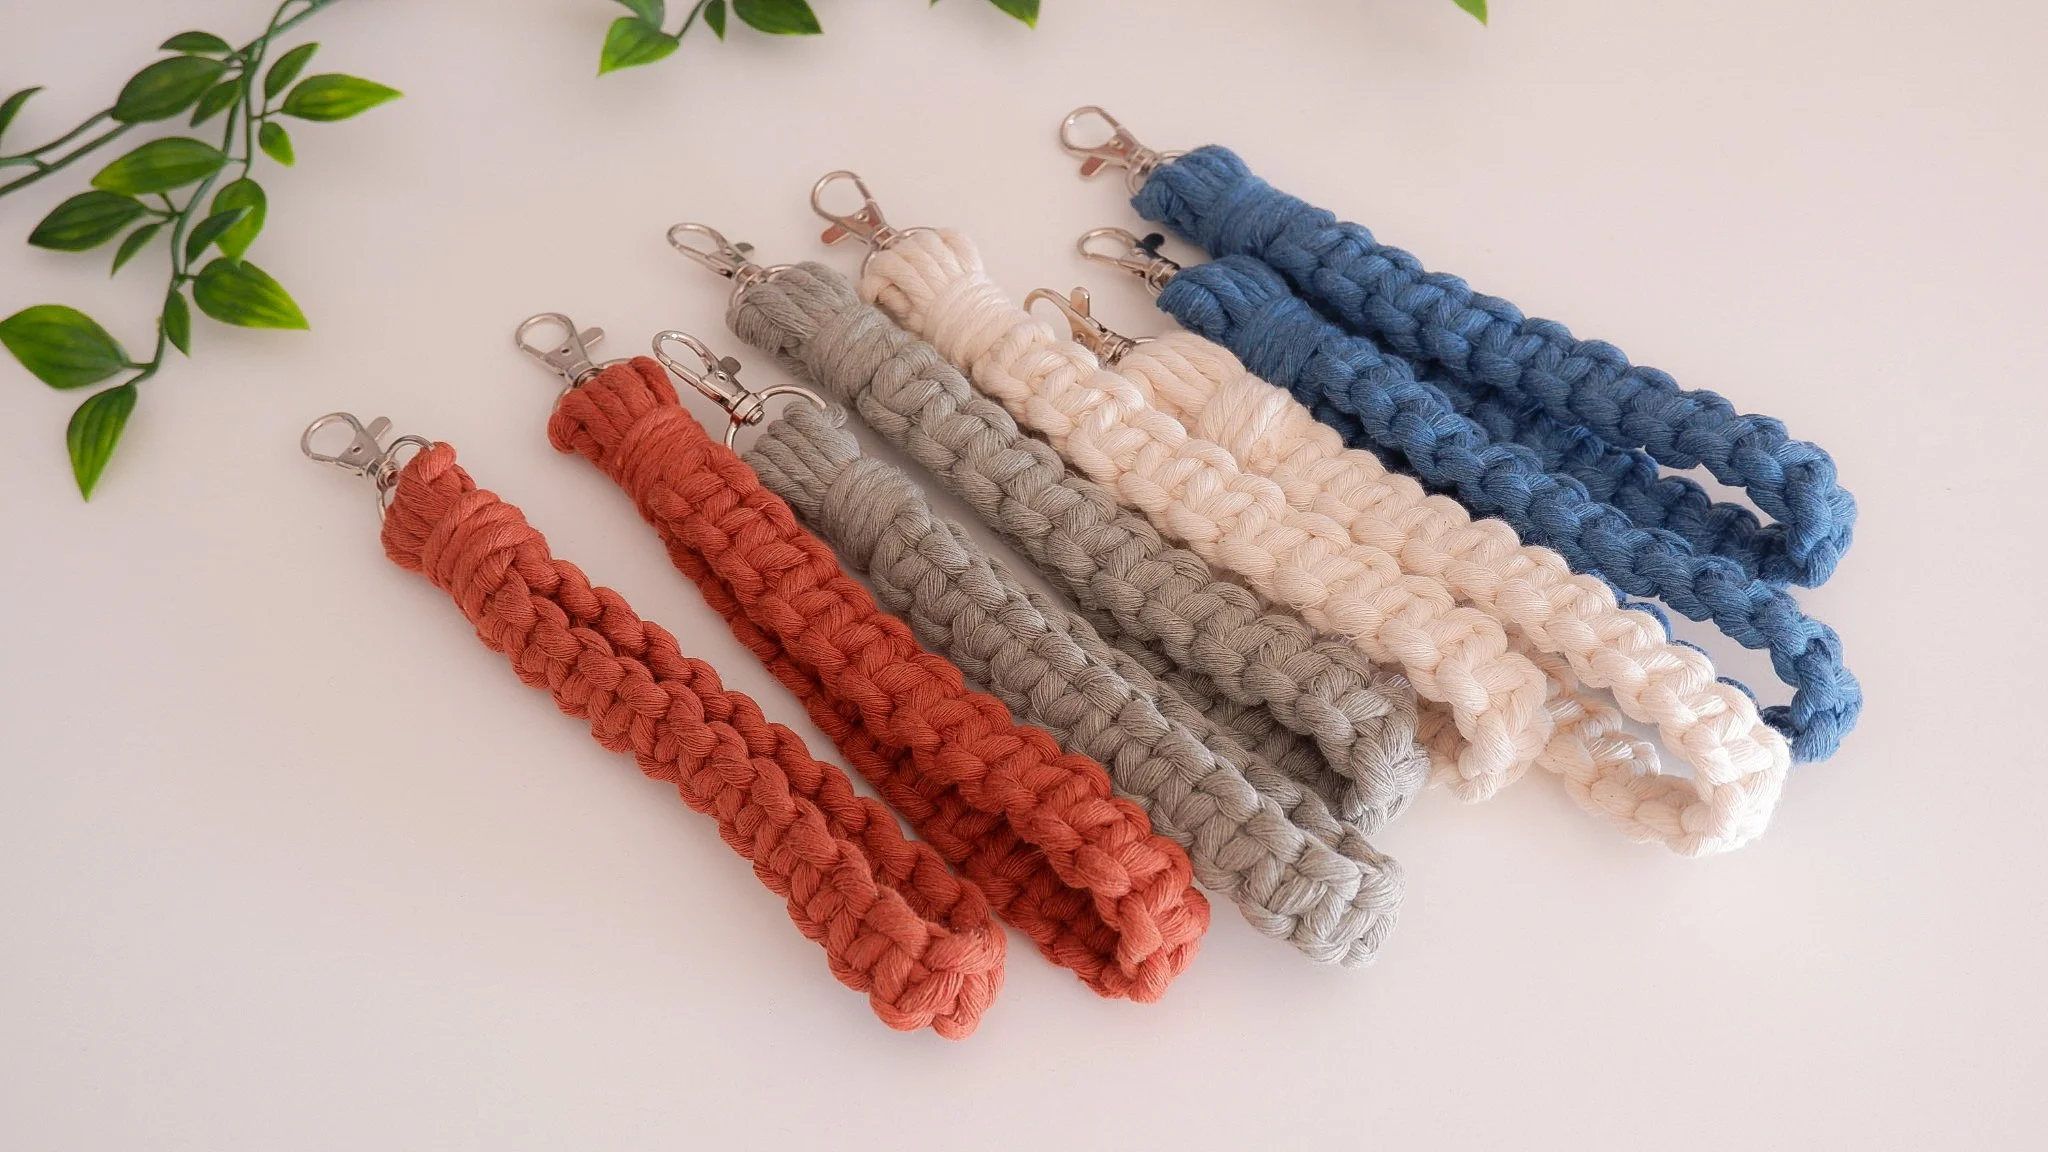
Macramé keyring: A great pocket project. You’ll get a feel for square knots, lark’s heads, and spirals without being overwhelmed.
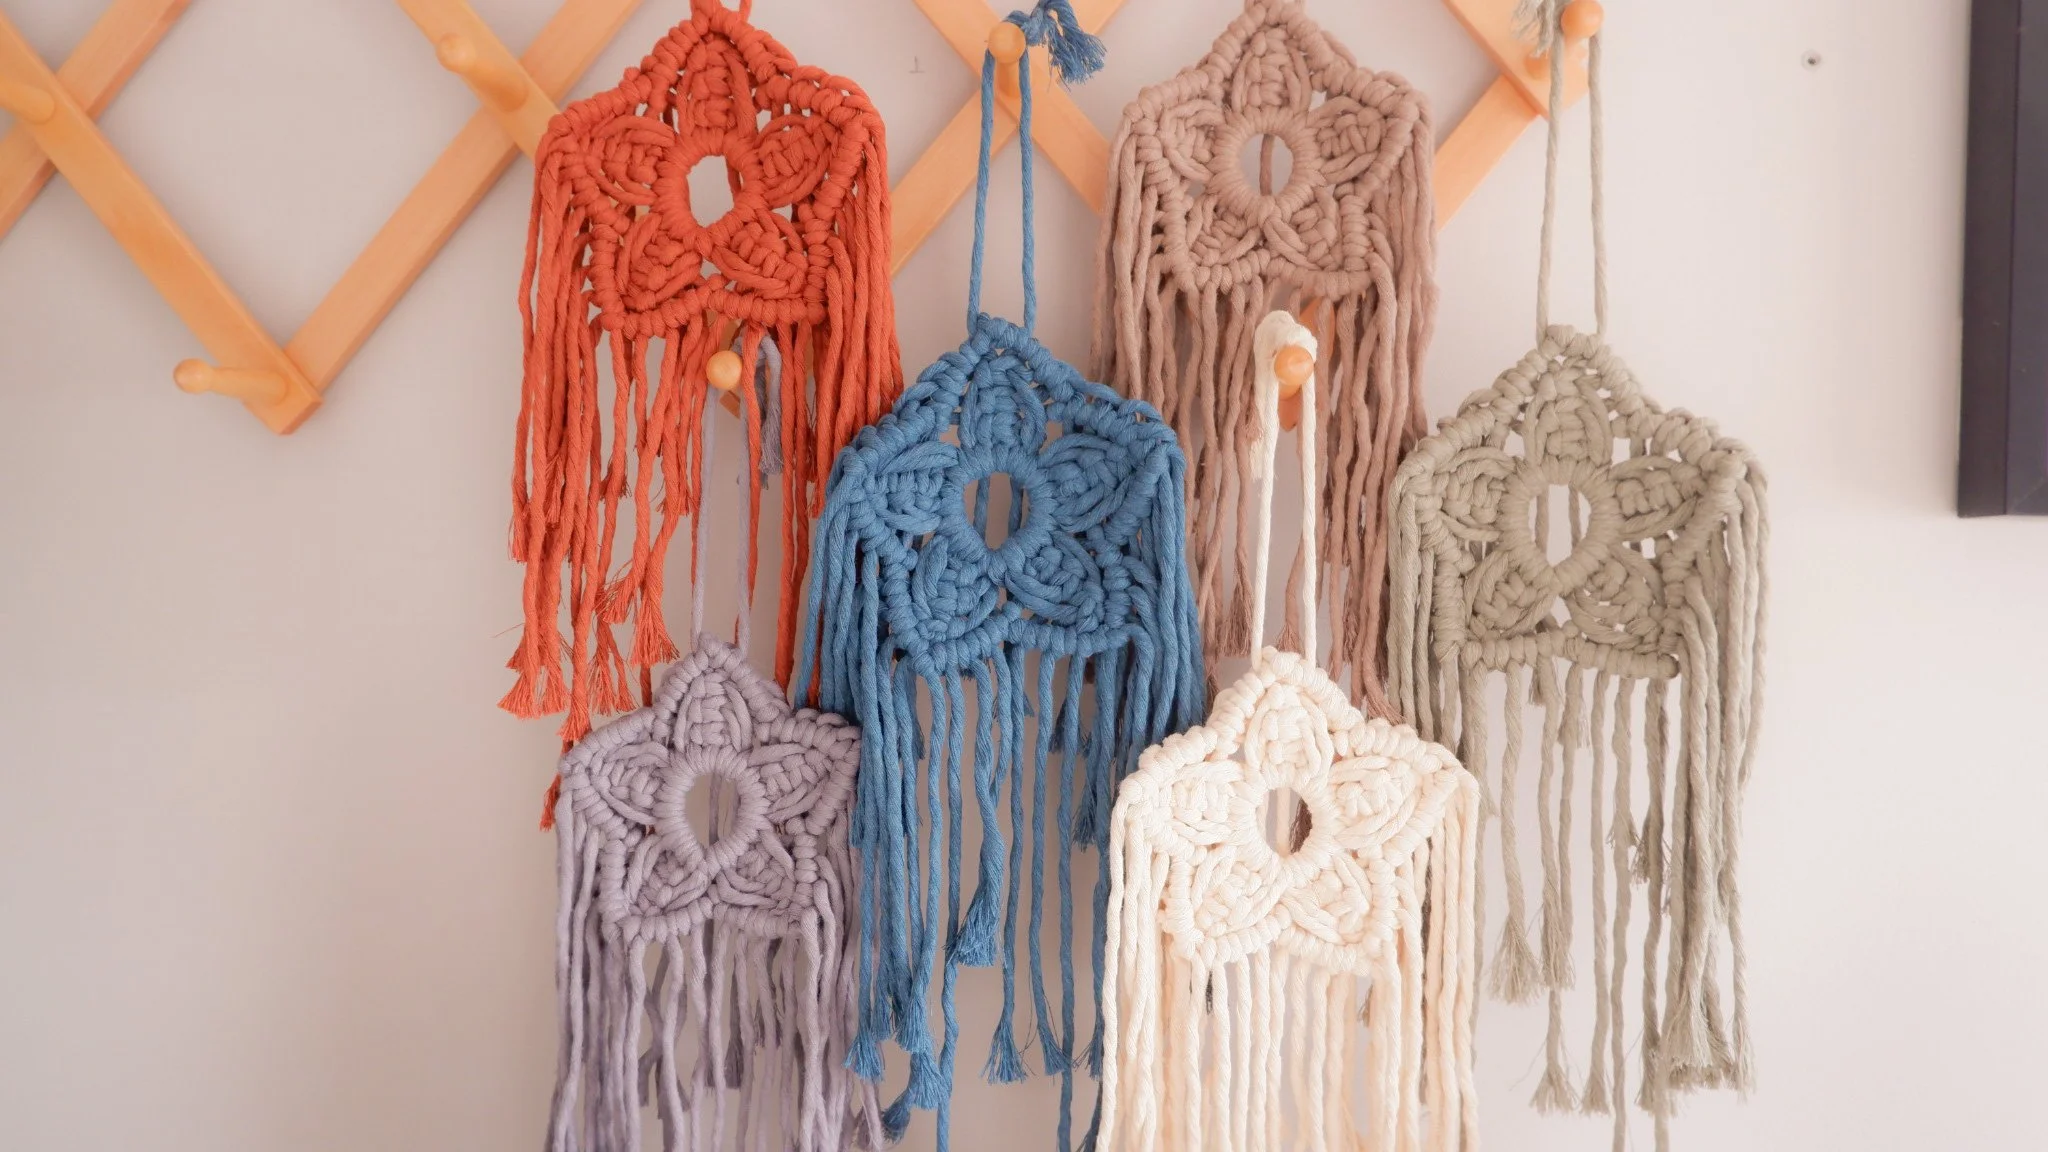
Mini wall hanging: Once you’ve mastered the knots, try a smaller wall piece. It’s satisfying, manageable, and makes a lovely handmade gift.
Woven coaster or mini tapestry: Playing with warp and weft on a small scale is the best way to understand weaving’s rhythm. Don’t worry about perfection, your “wobbly” edges give character.
Plant hanger: A classic. It teaches you how to work with longer cords and gives you something practical and beautiful at the end.
3. tips for a smooth start
Start small and build confidence project by project.
Embrace imperfection! Your hands leave a mark, and that’s the point.
Keep scraps, you’ll be amazed at what they can become.
Practice regularly, even just a little a day.
Connect with others. The textile community is generous, welcoming, and endlessly inspiring!
4. learn & grow
There’s so much you can discover online. YouTube tutorials, free knot guides, and entire communities of weavers and knotters sharing their progress.
And if you’d like something more personal, I offer one-on-one mentoring sessions tailored to your questions, whether it’s how to finish a fringe, how to start a tapestry, or how to push through a creative block. Sometimes, having someone to ask in real time makes all the difference.
final thoughts
Getting started with textile art is less about mastering tools and techniques, and more about letting yourself enjoy the process. Each knot, each weave, is its own little meditation. And once you’ve finished your first piece (no matter how small) you’ll feel that rush of pride that comes from making something with your own two hands.
So gather your cords, yarns, and a frame loom, and just begin. You might surprise yourself with how quickly you fall in love with this craft.
And if you’re looking for a loom that feels good in your hands and will grow with you, have a peek at the handcrafted frames we’ve designed in my atelier! They’re the ones I use for all my weaving, and I’d be delighted to see what you create on them.
Let’s create something beautiful together!


